
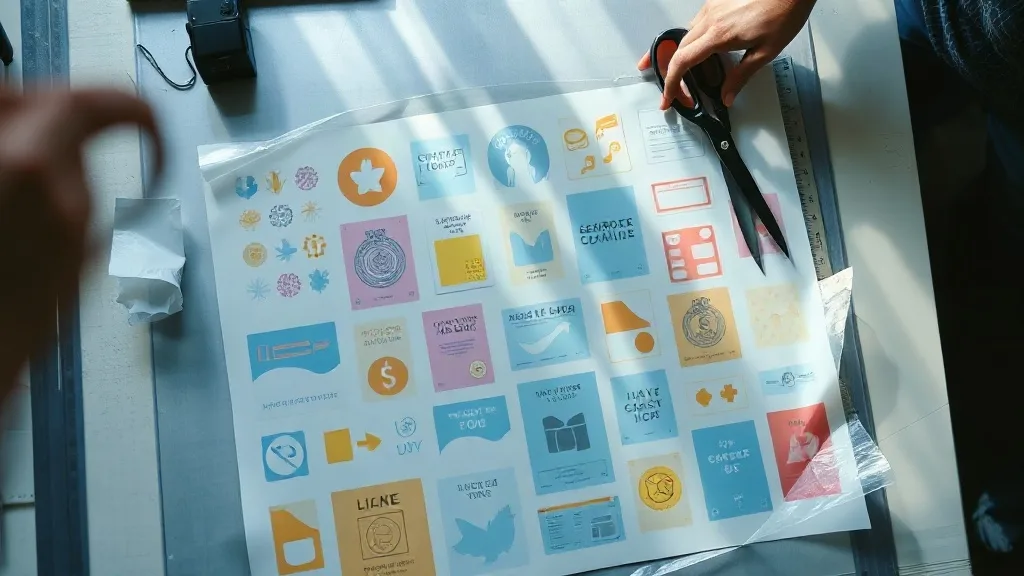
Most print shops treat a DTF Gangsheet as a simple container: drop in the artwork, hit send, and hope the film comes back with enough room to cut. That habit is expensive. A gangsheet is a layout problem, and the way you arrange art on it decides how much film you throw away, how long your cutter spends trimming, and how often a press operator burns a shirt because a transfer was too close to the edge. None of that shows up on the invoice, but all of it shows up in your margins at the end of the month.
This guide skips the basics of what DTF is and focuses on the part most shop owners learn by trial and error: how to lay out a gangsheet so the film works harder for you. The advice here comes from the daily grind of small-batch custom apparel, where a few inches of wasted film per sheet becomes a recurring cost.
Why the Gangsheet Is a Cost Center, Not Just a File
Film is sold by the meter, and every gangsheet you send to a printer consumes a fixed rectangle of it. The art inside that rectangle is your only variable. If you arrange twelve designs with generous gaps and awkward rotations, you pay for film that holds nothing but empty space. If you nest the same twelve designs tightly, you might fit them into two-thirds of the area. The difference is not cosmetic. It is a direct reduction in cost per transfer.
There is a second cost that shop owners often overlook: press time. A gangsheet with irregular spacing forces the operator to hunt for cut lines, double-check edges, and sometimes re-trim a transfer that was too close to a neighbor. Clean, consistent spacing turns pressing into a rhythm instead of a search. That rhythm is what lets a small shop handle a Friday rush without hiring extra hands.
The two numbers that matter most
Before you touch a layout tool, know your film width and your press platen size. Film width caps how wide your art can run. Platen size caps how large a single transfer can be pressed in one pass. If a design exceeds the platen, you either split it or refuse the job. Knowing both numbers before you build the sheet prevents the most common layout mistake: building a beautiful sheet around a design that cannot actually be pressed.
A Repeatable Layout Method for Small Shops
You do not need expensive nesting software to improve. A simple sequence, applied consistently, will get you most of the way there.
- Group by size class. Separate small chest logos, medium back prints, and large full-back designs. Mixing them on one sheet creates awkward gaps that are hard to fill.
- Place the largest pieces first. Big art defines the leftover space. Small pieces are flexible and should fill the gaps, not the other way around.
- Rotate only when it helps. Rotating a design 90 degrees can unlock a tight fit, but it also changes how the operator handles the transfer. Rotate for a reason, not by habit.
- Leave a consistent gutter. A uniform gap between designs is easier to cut and easier to inspect. Inconsistent gaps slow down trimming and increase the chance of nicking a neighboring print.
- Reserve an edge margin. Film edges can curl or feed unevenly. Keep art a safe distance from the border so the printer has clean material to grip.
Once you have a layout that works, save it as a template. Reusing a proven layout for recurring orders, such as a team set or a uniform run, removes guesswork and keeps film usage predictable.
Spacing rules that survive real pressing
The right gutter depends on your cutter and your press workflow. A shop that cuts by hand needs more space than a shop with a plotter. As a starting point, keep at least a quarter inch between designs and a half inch from the film edge. Then test: press a sample, trim it, and see whether the cut feels clean. Adjust from there. The goal is a gutter wide enough to cut confidently but narrow enough that you are not paying for empty film.
Matching Gangsheet Layout to Order Type
Not every job deserves the same layout strategy. A one-off custom order and a fifty-piece team set have different economics.
One-off and small custom orders
For single shirts, the priority is speed, not film efficiency. Build a small sheet with the design centered and enough margin to cut without stress. Trying to nest a single design tightly saves pennies and costs minutes.
Bulk and repeat runs
For repeat runs, invest in a template. A team set with a front logo and a back number can be laid out once and reused. The savings compound: less film per sheet, faster trimming, and a press operator who knows exactly where each transfer sits.
Mixed orders
When a customer orders several different designs in small quantities, group them by fabric and color first, then by size. This keeps press settings consistent and reduces the chance of a transfer being pressed onto the wrong blank.
Common Layout Mistakes That Quietly Raise Your Costs
- Filling every inch. A sheet packed to the edge looks efficient but leaves no room for cutting error. One ruined transfer can wipe out the savings.
- Ignoring grain and orientation. Rotated art can look fine on screen but feel wrong on the shirt, especially with text or directional graphics.
- Mixing fabric types on one sheet. Press settings differ by fabric. A sheet that mixes cotton and polyester forces the operator to change settings mid-run.
- Skipping the proof. Always preview the sheet at actual size before printing. Screen zoom hides spacing problems.
How to Test Whether Your Layout Is Actually Saving Money
Pick one recurring order and run it two ways: your current layout and a tightened version. Track film used, trimming time, and any reprints caused by cut errors. After a few runs, the numbers will tell you whether the tighter layout is genuinely better or just feels better. This small experiment is more reliable than any general rule, because it accounts for your equipment and your team's habits.
Over time, these experiments build a library of layouts tuned to your shop. That library becomes an asset, the same way a well-organized press area or a reliable supplier list does. It also makes training easier: a new hire can follow a proven layout instead of guessing.
Frequently Asked Questions
How much space should I leave between designs on a DTF Gangsheet?
A quarter inch is a practical minimum for hand cutting, and a half inch from the film edge gives the printer clean material to grip. Shops with a plotter can go tighter, but test first. The right gutter is the narrowest one your team can cut cleanly and consistently.
Can I mix different fabric types on the same gangsheet?
You can, but it complicates pressing. Different fabrics need different temperatures and pressures, so mixing them forces the operator to change settings mid-run. Group by fabric when possible, and keep mixed sheets for small orders where the time cost is acceptable.
Does rotating artwork on a gangsheet affect print quality?
Rotation itself does not harm the print, but it changes how the transfer is handled and pressed. Directional designs, text, and graphics with a clear top and bottom should stay upright. Rotate only when the fit savings are meaningful and the design allows it.
How do I know if my gangsheet layout is efficient?
Measure film used per transfer, trimming time, and reprint rate over several runs. Compare a tightened layout against your current one on the same order. If film use drops without more cut errors, the layout is working.
Should I build a separate gangsheet for each color of shirt?
Not necessarily, but you should build a separate sheet for each fabric and press setting. Color of the blank does not change the transfer, but fabric blend does. Keeping sheets organized by fabric prevents press errors and keeps the workflow predictable.