
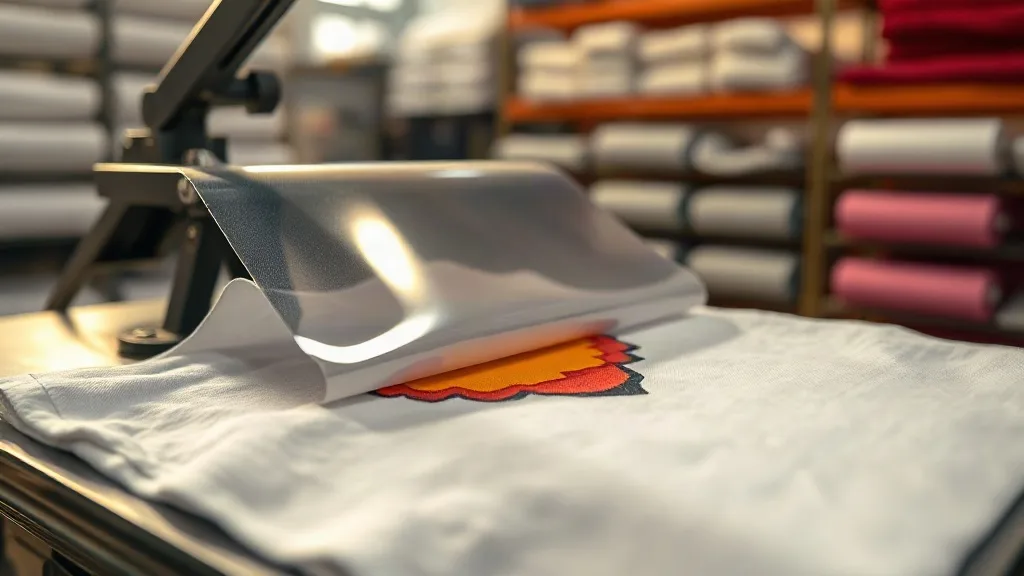
You’ve probably seen the results: a crisp, colorful design on a cotton tee that feels like it’s part of the fabric, not a plastic patch sitting on top. That’s the promise of dtf transfers, a printing method that has taken the custom apparel world by storm. But here’s the catch: achieving that flawless finish on every fabric, from 100% cotton to polyester blends and even nylon, isn’t automatic. It requires understanding how the transfer interacts with different materials, mastering your heat press settings, and knowing a few trade secrets that separate a hobbyist from a pro.
In this guide, we’ll walk through the entire process of working with DTF transfers on a wide range of fabrics. Whether you’re a print shop owner looking to expand your offerings or a DIY enthusiast wanting to decorate your own gear, you’ll find practical, actionable advice to get consistent, wash-durable results. We’ll cover fabric compatibility, step-by-step application, troubleshooting common issues, and how to source quality transfers. Let’s dive in.
What Makes DTF Transfers Different?
DTF, or Direct to Film, is a printing technology where your design is printed onto a special PET film using water-based pigment inks. A thermoplastic powder adhesive is applied to the wet ink, which is then cured. The result is a flexible, stretchable transfer that can be heat-pressed onto almost any fabric. Unlike DTG (Direct to Garment), which requires pre-treatment and works best on cotton, or vinyl, which can feel heavy and crack, DTF offers a soft hand feel and exceptional durability.
The magic of dtf transfers lies in their versatility. The adhesive powder creates a strong bond with the fabric fibers, allowing the transfer to stretch and recover without cracking. This makes DTF ideal for sportswear, jerseys, and any garment that needs to move with the body. Plus, the color vibrancy is outstanding, even on dark fabrics, because the white ink layer acts as a base. If you’re new to DTF, understanding these fundamentals will help you troubleshoot and optimize your process.
Fabric Compatibility: Where DTF Shines and Where It Struggles
One of the biggest advantages of DTF is its ability to adhere to a wide range of fabrics. However, not all fabrics are created equal. The surface texture, fiber content, and finish can affect how well the transfer bonds and how it feels. Let’s break down the most common fabric types.
Cotton and Cotton Blends
Cotton is the most forgiving fabric for DTF. The natural fibers provide a porous surface that the adhesive can grip onto, resulting in excellent wash durability. 100% cotton tees, hoodies, and canvas totes are prime candidates. Cotton-poly blends (like 50/50) also work well, but you may notice slight differences in stretch and recovery. For best results, pre-press the garment to remove moisture and wrinkles, and use a medium pressure setting.
Polyester and Synthetic Fabrics
Polyester and other synthetics (nylon, spandex) can be trickier. The smooth, non-porous surface may cause the transfer to peel if the heat settings are off. Additionally, some polyesters are dyed with sublimation inks that can migrate into the transfer when heated, causing discoloration. To prevent this, use a lower temperature (around 280-300°F) and a shorter press time, and always do a test press on a scrap piece. A cover sheet or Teflon sheet can also help distribute heat evenly. For high-stretch synthetics, look for DTF transfers specifically designed for stretch fabrics, which use a more elastic adhesive.
Specialty Fabrics: Nylon, Leather, and More
DTF can adhere to nylon, canvas, and even leather, but each requires adjustments. Nylon tends to repel adhesives, so a higher pressure and slightly longer dwell time may be needed. Leather and faux leather can be pressed, but use a low temperature to avoid damaging the material. Always test on a hidden area first. For fabrics with a heavy texture (like rib knit or terry cloth), the transfer may not fully contact the surface, leading to premature peeling. In such cases, consider using a higher pressure or a thinner transfer.
Step-by-Step Application for Flawless Results
Getting a perfect press is part art, part science. Follow these steps to ensure your DTF transfers look great and last.
- Preheat the garment: Press the garment for 5-10 seconds to remove moisture and wrinkles. This step is crucial for cotton and blends, as moisture can create steam and prevent proper adhesion.
- Position the transfer: Place the transfer on the garment with the printed side up. If you’re using a gang sheet, cut out the individual design, leaving a small border.
- Set your heat press: Temperature: 300-320°F (150-160°C) for most fabrics. Pressure: medium to firm (around 40-60 PSI). Time: 10-15 seconds for the initial press.
- Press: Close the press and apply full pressure. For larger transfers, you may need to press in sections to ensure even coverage.
- Peel: Wait 2-5 seconds for the transfer to cool slightly, then peel the film in a smooth, steady motion. For a matte finish, peel while hot; for a glossy finish, peel while cold. (Check your transfer’s instructions.)
- Post-press: Cover the design with a Teflon sheet or parchment paper and press for another 5-10 seconds to set the adhesive and smooth the finish.
Pro tip: Always use a cover sheet to protect your heat press platen and prevent ink from transferring to other garments. And never press directly on the film with the printed side down, as this will ruin the transfer.
Troubleshooting Common DTF Issues
Even with the best practices, problems can arise. Here’s how to diagnose and fix the most common issues.
Transfer Peeling After Wash
If your transfer starts to peel after a few washes, it’s usually due to insufficient pressure, incorrect temperature, or pressing over seams. Ensure your press is calibrated (use a heat gun or infrared thermometer) and apply firm pressure. Avoid pressing over thick seams or zippers, as the uneven surface prevents full contact. Also, wash garments inside out in cold water and avoid fabric softener, which can degrade the adhesive.
Color Fading or Cracking
Fading or cracking often indicates under-curing of the ink or too high a temperature. If the ink looks dull after pressing, try increasing the temperature slightly or extending the press time. Cracking can occur if the transfer is stretched too much during application or if the fabric has a high stretch percentage. For stretchy fabrics, use a transfer designed for stretch and press with a lower temperature to keep the adhesive flexible.
Adhesive Residue on the Film
Sometimes, after peeling, you may notice a hazy residue on the film. This is excess adhesive that didn’t bond. It’s usually harmless, but it can indicate that the pressure was too low or the fabric was too cool. Increase pressure and ensure the garment is preheated. If the residue is on the garment, it can be removed with a lint roller or by gently rubbing with a soft cloth.
Sourcing Quality DTF Transfers
The quality of your transfer plays a huge role in the final result. Cheap transfers may use inferior inks or adhesives that crack, fade, or fail to bond. When looking for a supplier, consider these factors:
- Ink quality: Look for transfers printed with high-opacity, water-based pigment inks that are vibrant and wash-resistant.
- Adhesive type: A good transfer uses a fine, even layer of thermoplastic powder that melts smoothly and bonds strongly.
- Film thickness: Thinner films conform better to textured fabrics and feel softer.
- Customer reviews: Check testimonials for durability and color accuracy.
- Turnaround time: If you’re running a shop, you need a supplier who can deliver quickly and consistently.
If you’re searching for dtf transfers near me, you’re likely looking for a local or online source that can provide fast shipping and reliable quality. Many suppliers offer gang sheet builders that let you maximize your transfer sheet and reduce waste. Don’t be afraid to order samples before committing to a large batch. A small investment in testing can save you from costly mistakes later.
Maximizing Durability: Care Instructions for Your Customers
Even the best DTF transfer can fail if the garment is mistreated. Provide your customers with clear care instructions to ensure long-lasting prints. Here’s what to tell them:
- Turn the garment inside out before washing.
- Machine wash cold with like colors.
- Do not use bleach or fabric softener.
- Tumble dry low or hang dry.
- Do not iron directly on the print; if needed, iron inside out on a low setting.
- Wait 24 hours after printing before washing.
These simple steps can dramatically extend the life of the transfer. Including a care card with each order is a nice touch that shows professionalism and reduces complaints.
Frequently Asked Questions
Can I use DTF transfers on 100% polyester?
Yes, but you need to be careful with temperature and pressure. Polyester is prone to dye migration and can scorch at high heat. Use a lower temperature (around 280-300°F), a shorter press time (8-10 seconds), and a cover sheet. Test on a scrap first to ensure the transfer adheres without damaging the fabric. Some suppliers offer low-temperature transfers specifically for polyester.
How do I prevent the transfer from sticking to the cover sheet?
Use a Teflon sheet or parchment paper as a cover sheet, and make sure the printed side of the transfer is facing up. If the transfer sticks, it’s usually because the cover sheet is not heat-resistant or the press is too hot. Also, avoid pressing the transfer directly onto the cover sheet without the garment underneath; the adhesive needs a fabric surface to bond to.
What’s the best way to store unused DTF transfers?
Store them in a cool, dry place away from direct sunlight. Keep them flat to prevent creasing, and avoid folding the printed area. Humidity can affect the adhesive, so if you live in a humid climate, consider storing them in a sealed bag with a desiccant packet. Properly stored transfers can last for several months.
Can I layer DTF transfers on top of each other?
Yes, you can layer DTF transfers, but it requires careful planning. Press the first transfer, then allow it to cool completely before applying the second. Use a lower pressure for the second press to avoid squashing the first layer. Keep in mind that layering increases the thickness and may reduce stretchability. For complex multicolor designs, it’s often better to use a single transfer with all colors printed.
Why does my transfer look dull after washing?
Dullness after washing usually indicates that the transfer wasn’t fully cured or that the wash temperature was too high. Ensure your press settings are correct and consider post-pressing for an extra 5 seconds. Also, advise customers to wash in cold water and avoid harsh detergents. If the problem persists, try a different transfer supplier, as ink quality varies significantly.
Final Thoughts
Mastering dtf transfers on any fabric is within reach when you understand the nuances of heat pressing and fabric compatibility. Start with quality transfers, calibrate your press, and don’t skip the testing phase. With a little practice, you’ll be producing vibrant, durable prints that delight customers and keep them coming back. Remember, the key to flawless results is consistency: consistent pressure, temperature, and time, applied to the right fabric. Now go ahead and press with confidence.